

Build Guide · Lamborghini Huracán
How We Retrofit a Lamborghini Huracán: Custom RGBW Headlights, Demon Eyes & Halos
A local customer brought us their Lamborghini Huracán for a one-of-a-kind lighting build. Here's the full retrofit, start to finish — and the techniques behind a professional-grade addressable build on a six-figure car.


A one-of-a-kind build on a six-figure car
A local customer reached out about a custom set of lights for their Lamborghini Huracán — and that sounded like fun, so we took it on. The finished lights run 70 mm hex halos, RGB demon eyes, and our high-output pods in the DRL bars, with custom lens etching — all driven by a Ghozt controller. They stay fully functional as turn signals and DRLs, but at the push of a button they drop into party mode to show the car off.
This is an advanced retrofit on an expensive car, so a lot of the build is about doing it cleanly, safely, and in a way that never has to come back apart. Here's how it went, start to finish.
Why we cut these open instead of using the oven
We normally love opening headlights in the oven, but these are the wrong candidate. They're expensive OEM Hella lights (roughly $3,500 each), and on this housing the internals sit so close to the lens that you can't get a clean back-cut to pop the front cover. Even on a broken set we tried, the adhesive would not budge in the oven.
So we cut around the lens with an ultrasonic cutter — far more precise and controllable than a Dremel, which is exactly what you want on a light this pricey. One nice break on the Huracán: the fenders cover the top of the light, so the seam where you seal it back up is hidden — the seal doesn't have to be perfect to look factory.
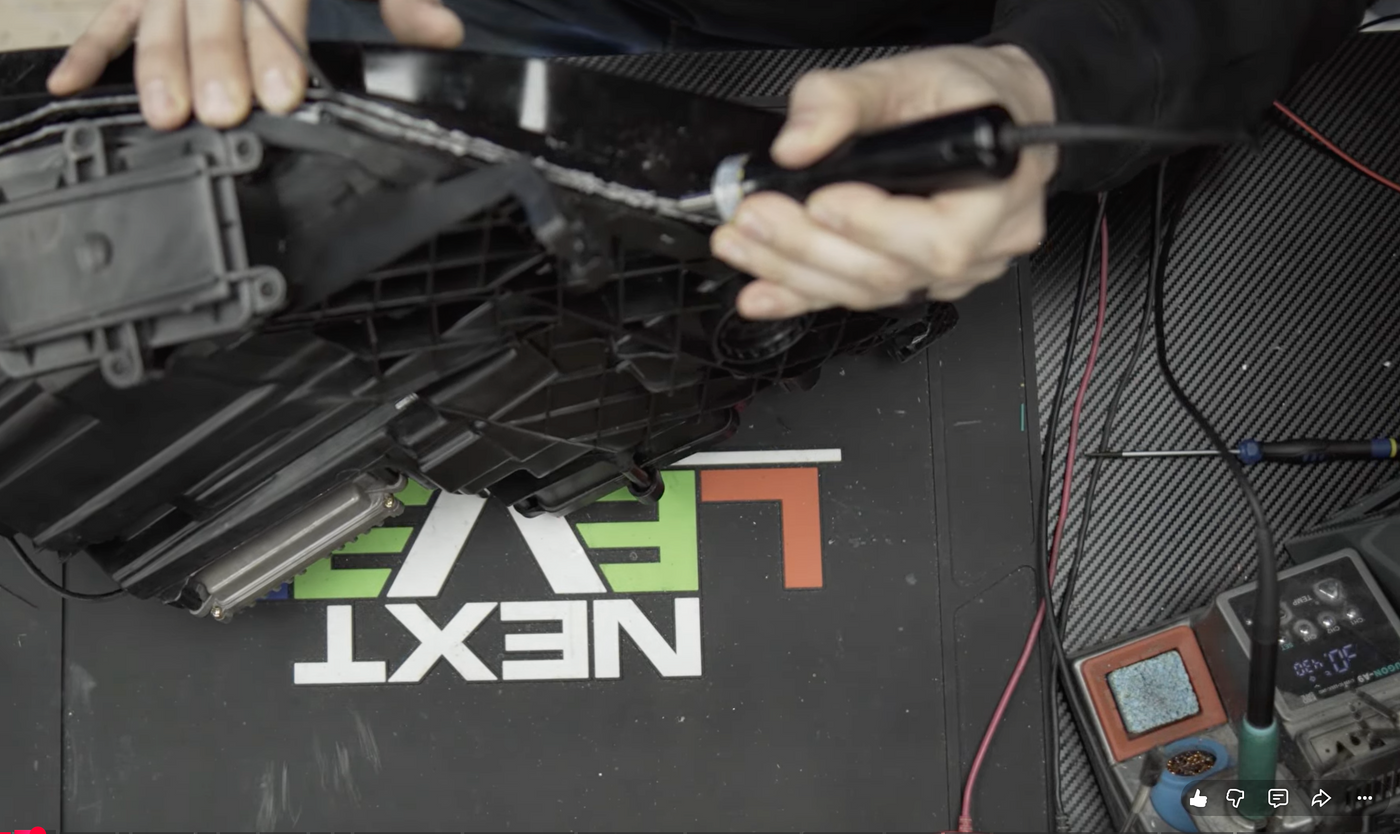
Series wiring & independent control (no splitters)
Addressable LEDs use a power, ground, and a single data line that flows device-to-device. Wire everything in series and each LED keeps its own address, which is what gives you independent control and true flowing animations. Don't use data splitters — splitting the data makes both devices act as one and kills that independent control. (Note: with our simpler Pro Flow controllers a splitter can sometimes make sense, but on a Ghozt/BlueGhozt or GlowCraft build, keep it series, input-to-output.)
High-output pods for the DRL bars
The factory DRL boards were actually failing on this car, so we replaced them with our high-output pods for a much brighter, addressable result. Each pod's little lens hump seats into the housing's divots to aim the light outward. It's 22 pods per light — 44 total (pods come in packs of five, so plan on nine packs for a full set).
- Power injection is a must. Running 22 power-hungry pods off a single front feed is too much for one wire, so we inject power at multiple points — here, three injection points per light feed the pods from both ends, plus the demon eyes and halos, with built-in redundancy if a power/ground link ever breaks.
- Zip-tie the pods while the glue cures. We seat the pods with Gorilla Glue contact adhesive and hold them with thin zip ties until dry, then snip the ties off.
- Shorten the pod extensions, then solder + shrink-tube. No butt connectors, no electrical tape on the joints — flatten any stray wire strands so they can't pierce the shrink tubing and short out.
- Test as you go. Verify every pod before you glue and again before you seal — it saves you from chasing a fault through a finished light.
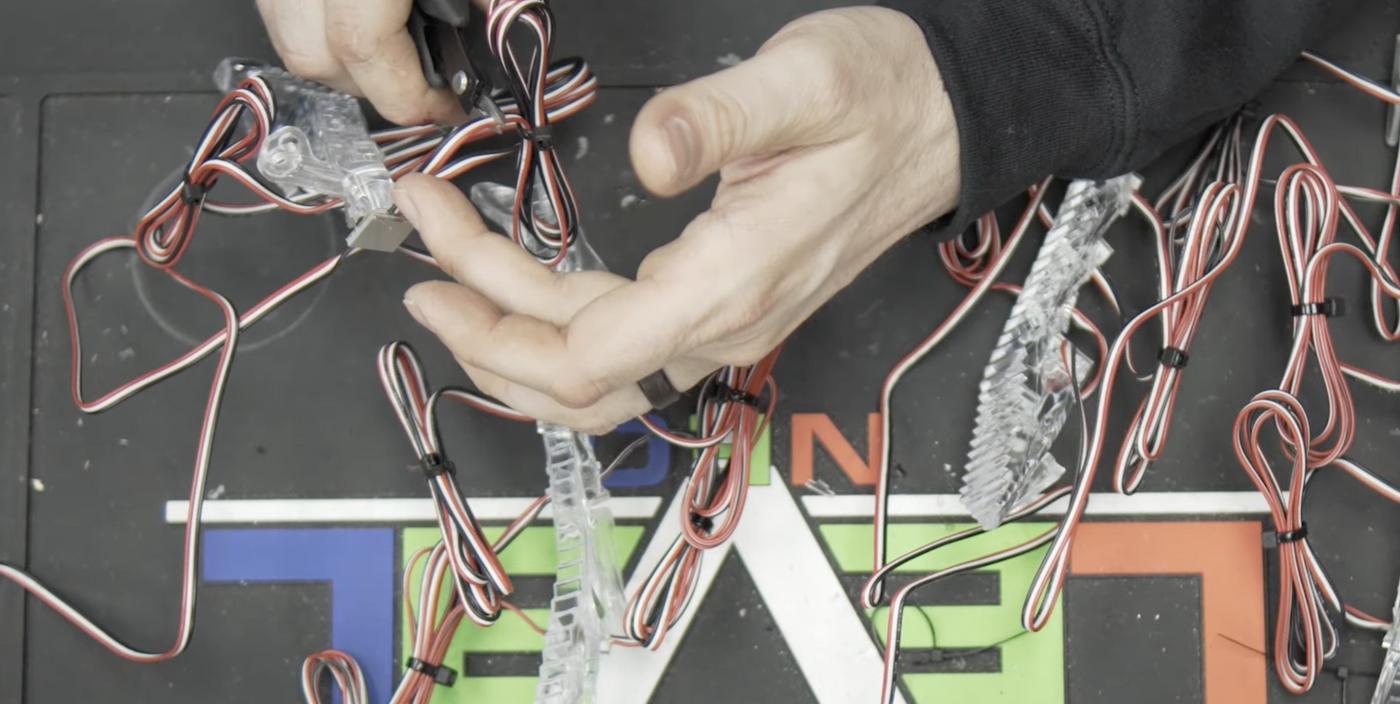
70mm hex halos
For the halos we used our 70 mm hex halos, which pack in a lot of LEDs for strong output and clean diffusion. We trim the bezel so the halos sit perfectly flush, and orient the mirrored 5V pairs so the flow starts toward the center of the car and sweeps outward. To hide the back of the PCB where it's slightly visible, we coated it with a bit of potting compound that blends into the black bezel.
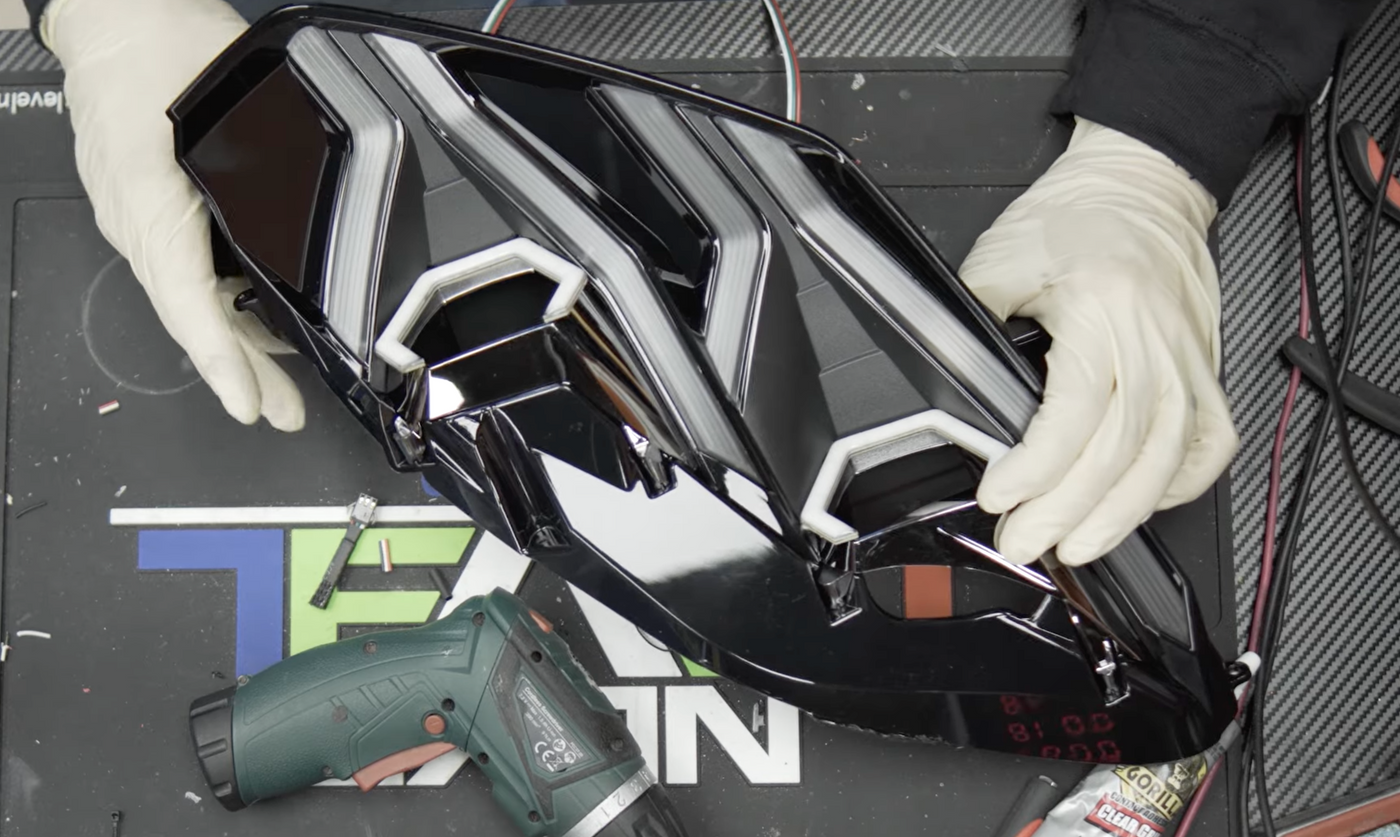
Demon eyes & the matrix-projector caveat
We mount the addressable RGB demon eyes by cutting a small window in the top of the projector so the LED shines down without getting in the way of the projector bulb. Important heads-up: some Huracán lights use a matrix-style projector with very little room for a demon eye, while others are a traditional design that takes one easily — you often can't tell until you open the light. So if you're quoting a customer, don't promise a demon eye until you've confirmed which projector you're dealing with. (Etching the lens is fine either way.)
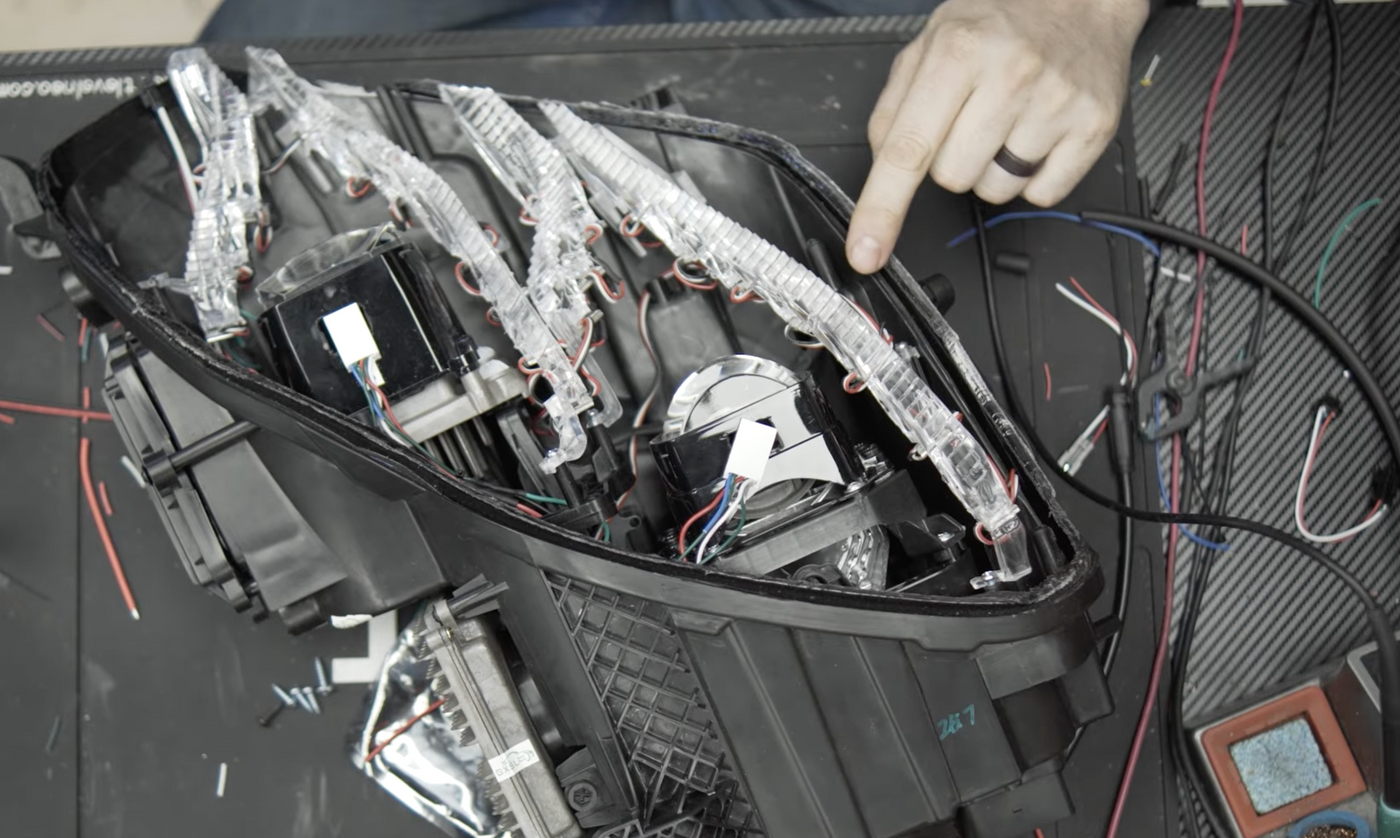
Lens etching — the safe way
We usually laser-etch, but not here. The OEM glass on these is essentially irreplaceable, and laser etching carries real risk on unknown glass. So we went old-school: a vinyl mask + abrasive blasting. It doesn't have quite the definition of a laser, but on a light you can't replace, the reduced risk is more than worth it.
Power: all-5V, invert at the light
This is an all-5V build (pods, demon eyes, and halos). We run 12V from the controller to the light and put the inverter inside the light — higher voltage travels better with less drop, so 12V over the 18-gauge run is safer than pushing 5V a long distance. Because these lights pull close to 10 amps at 5V, use a proper 10A inverter — not a micro/mini inverter (those are for a halo or two and will burn out here).
Sealing it back up
We plastic-weld the lip we created when cutting — that's what physically bonds the light back together and gives it rigidity — then run a bead of black gasket maker right along the seal for waterproofing (painter's tape gives a clean line). Finally, we add breather patches (two up top, two on the bottom) because all those added LEDs add heat, and the housing needs to breathe.
Everything we used
The full parts list. Next Level Neo parts link in-house; adhesives, tools and supplies link out to where we source them. For a full set you'll need 44 high-output pods (22 per light), 2 pairs of 70 mm hex halos, 2 pairs of demon eyes, and 1 Pro BlueGhozt controller.
Controller
LEDs
Power
- 10A 5V Inverters — one per light (not a micro inverter)
Adhesives
- Gorilla Clear Grip Contact Adhesive — for securing the LEDs
Tools
Wiring & electrical
Black gasket maker (for the final seal) is available at most auto-parts stores.
Shop addressable halos, demon eyes & controllers at Next Level Neo
Tell us in the comments what car you'd like to see us light up next.